More injuries, no Gracie JiuJitsu

After a long lay off due to back injury I find myself in a situation where the annual academy gathering is upon us. This normally means people going for their belt graduations and also a lot of training with extra things being taught to us by special guest instructors.
All in all, it was a throughly enjoyable weekend and involved me doing 4 days straight of Jiu-Jitsu which isn’t a common thing for me to do, but I survived!
Over that period i was taught the following:
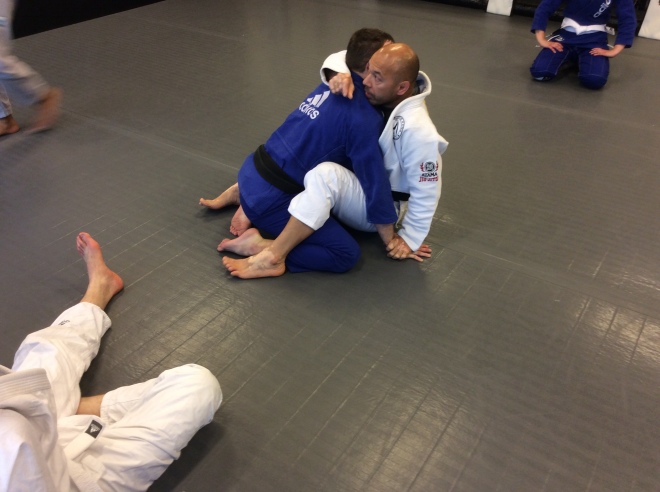
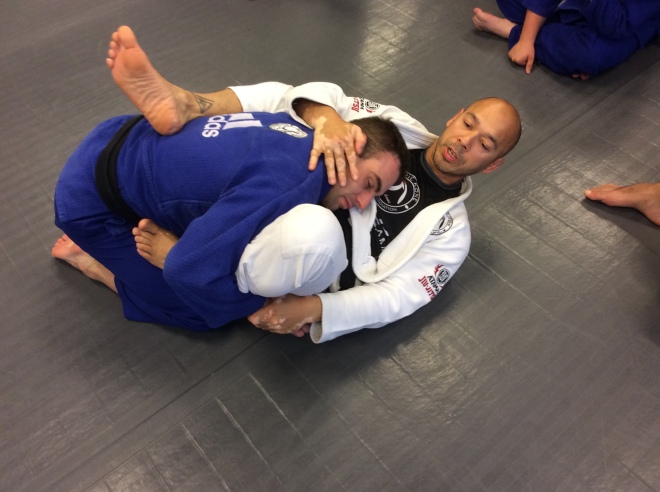
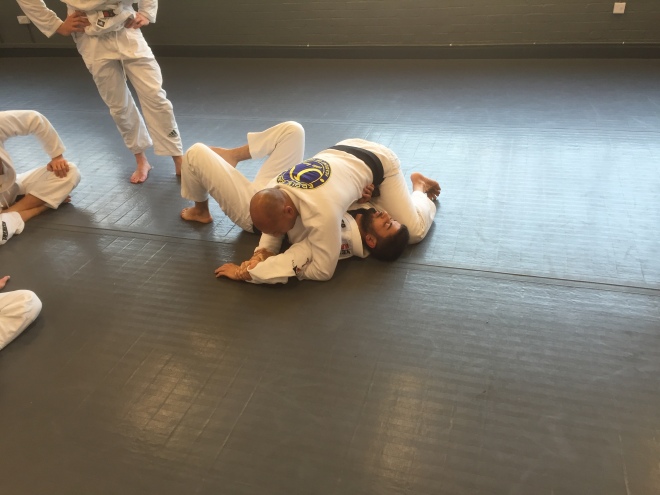
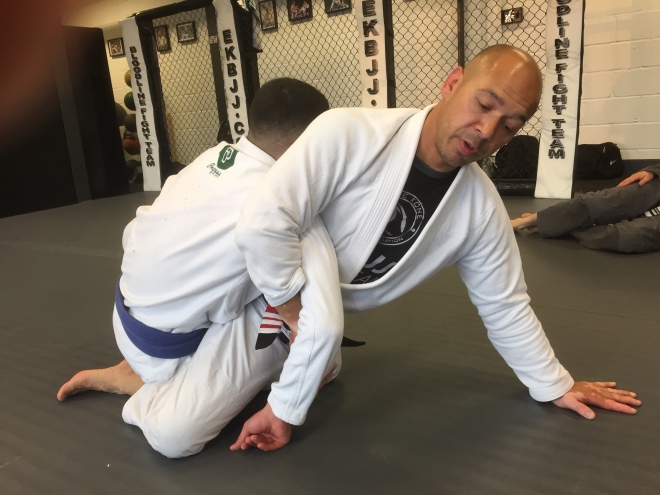
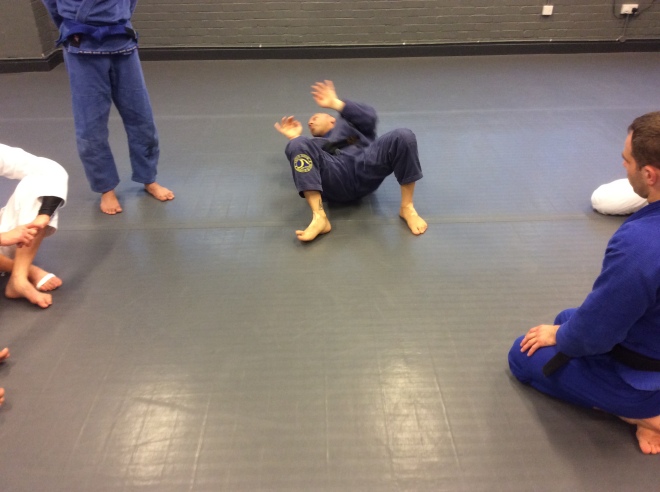
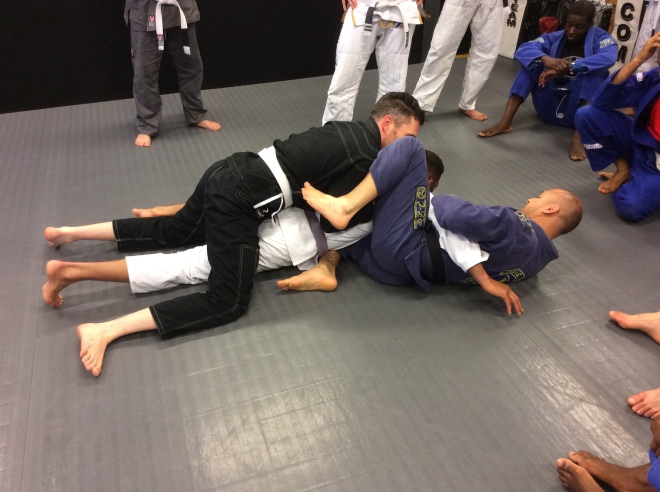
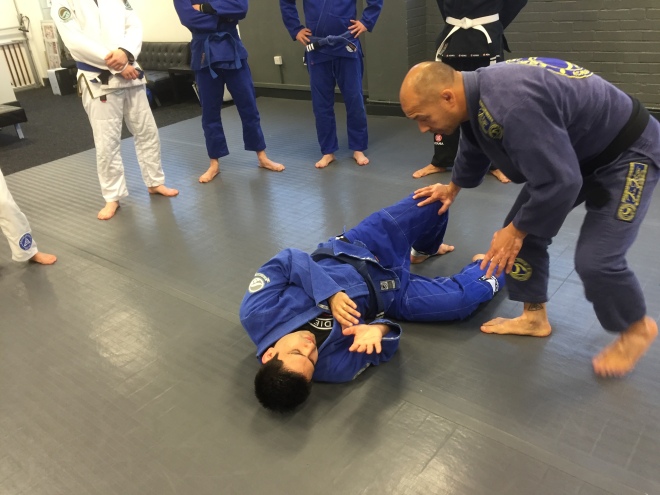
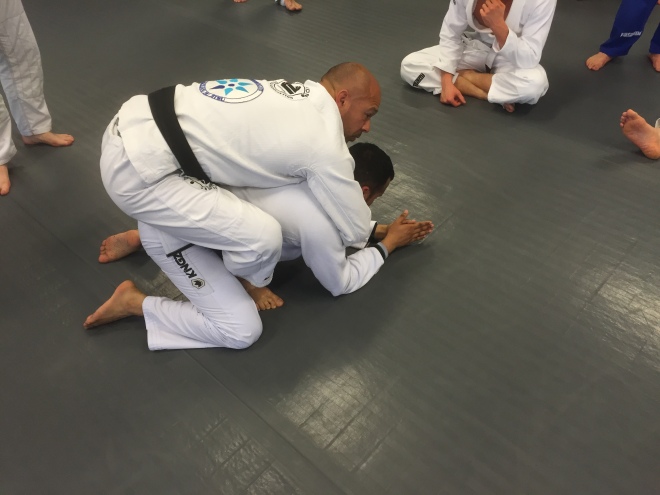
Guest instructor’s version of the omoplata
Guest instructor’s version of the following:
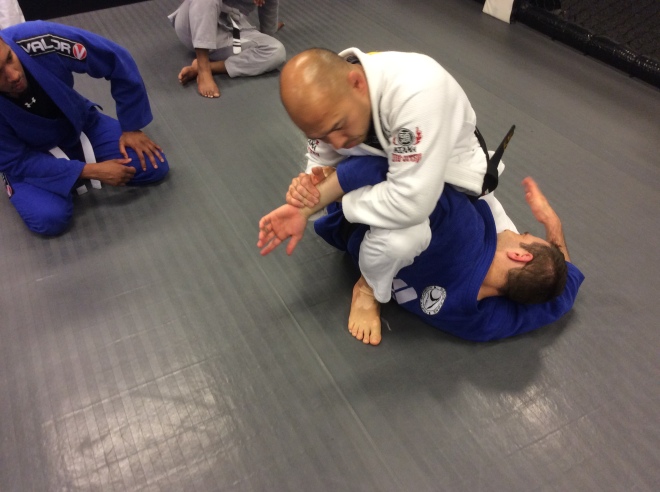
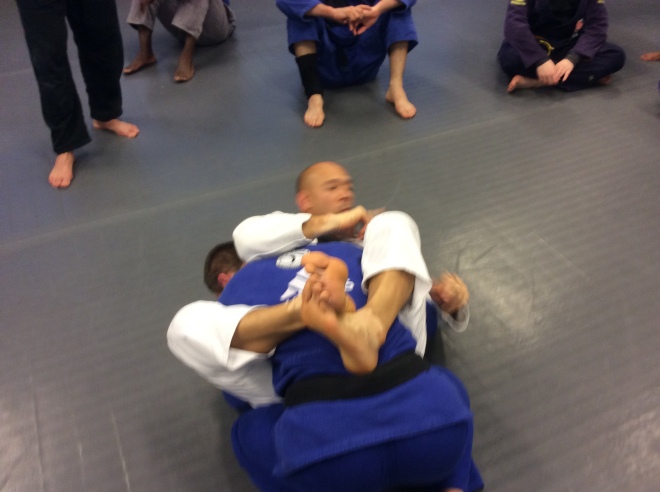
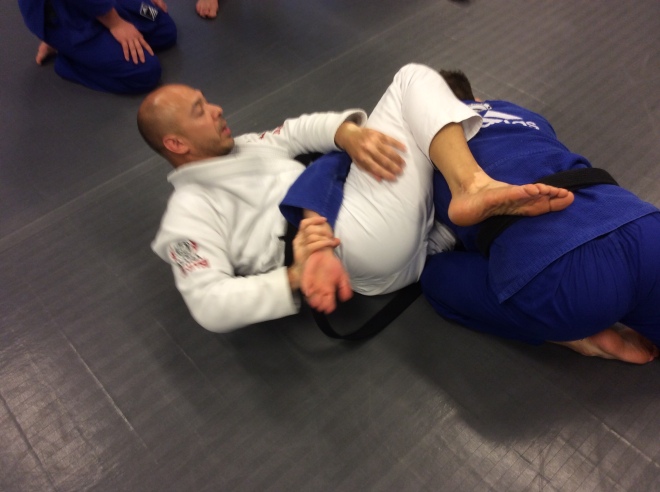
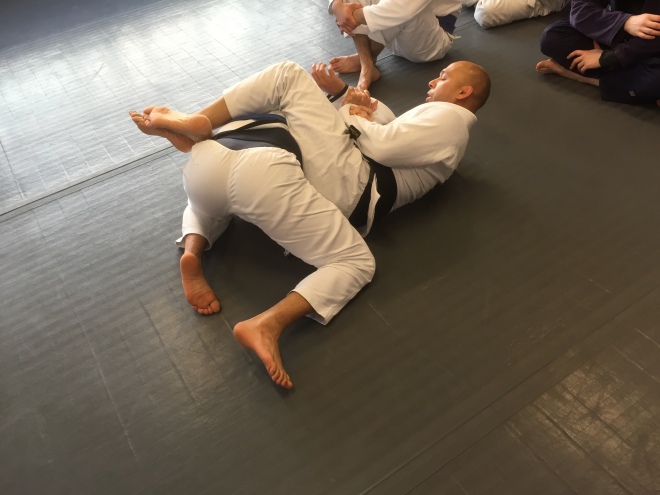
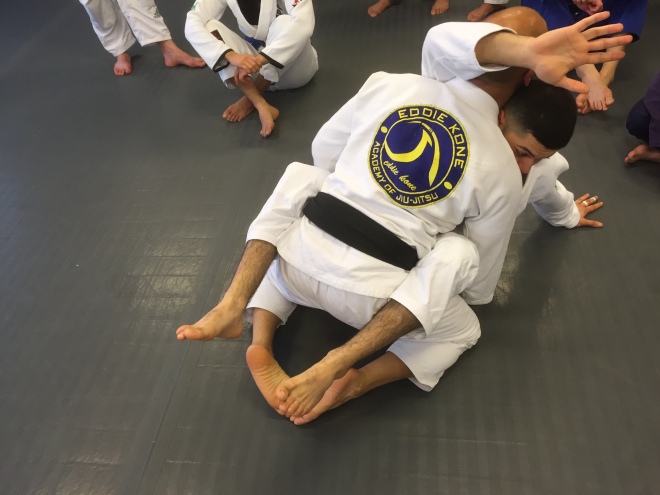
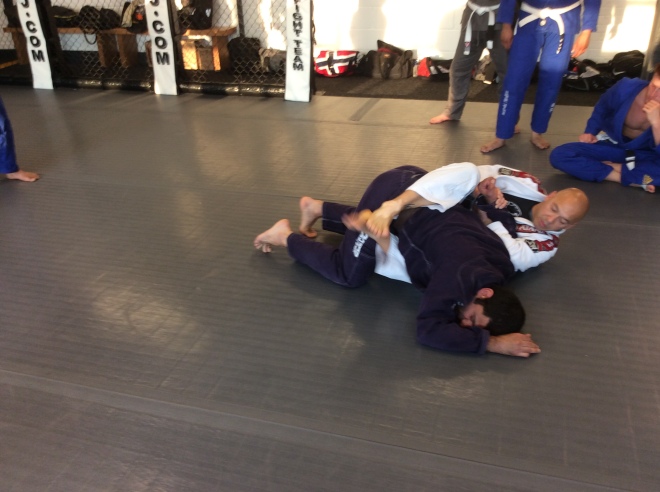
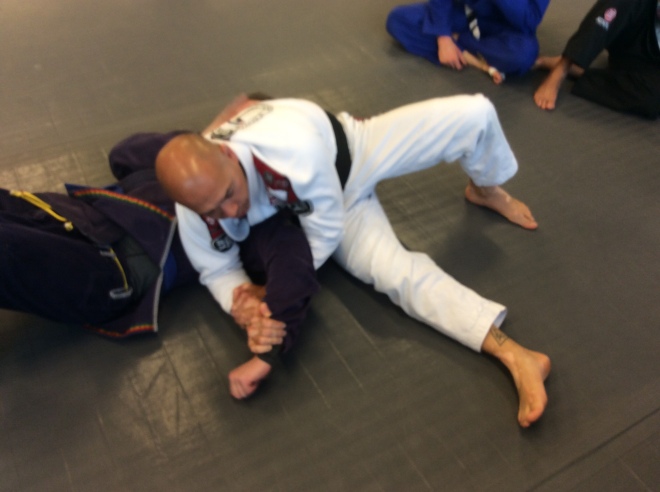
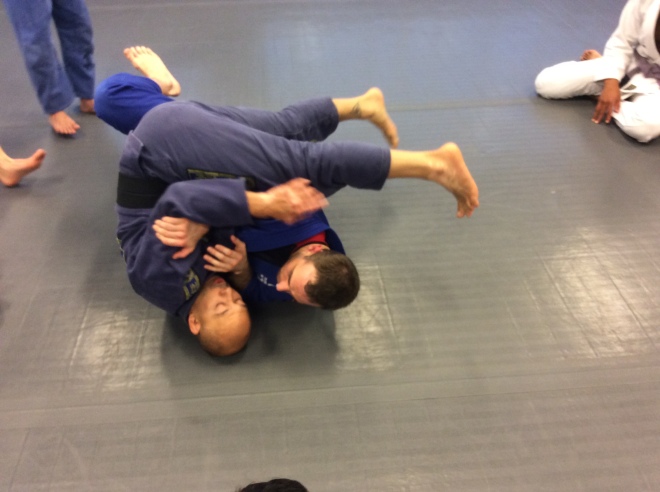
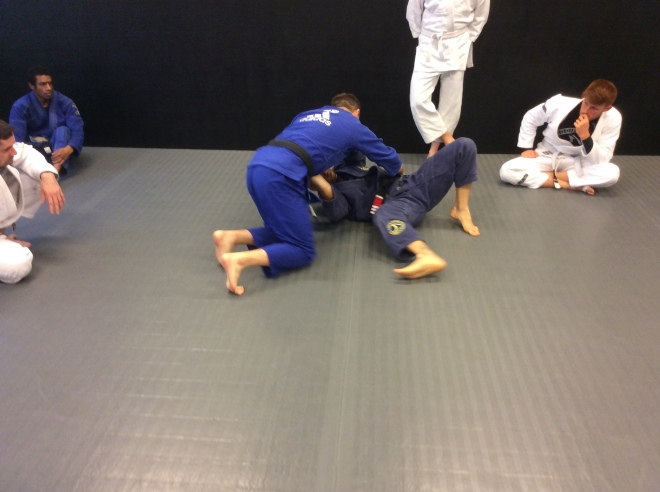
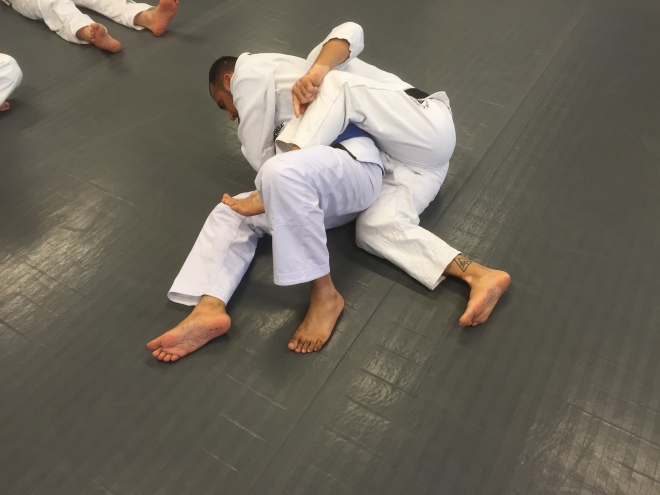
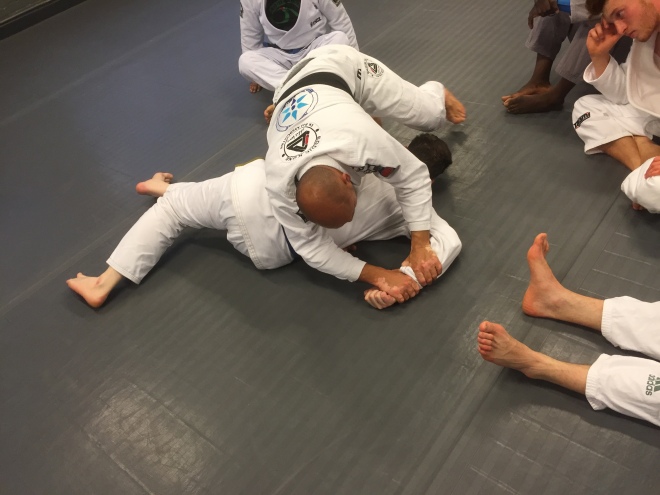
Rolling toe hold
Calf splitter
Knee bar
Breaking here slightly, it was good to work with the lower half of the body as a lot of attention tends to go into the top half, plus understanding how these footlocks work just aids the general knowledge about how someone may attempt to attack those areas.
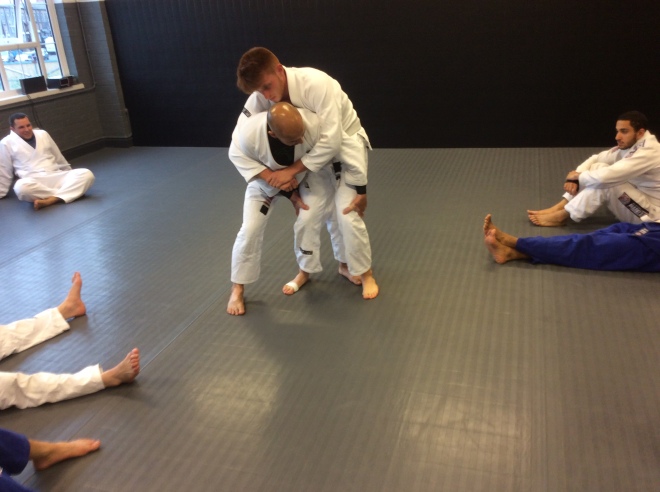
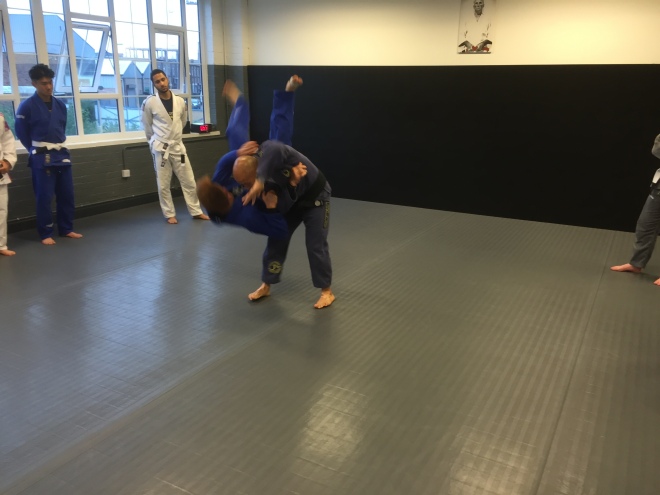
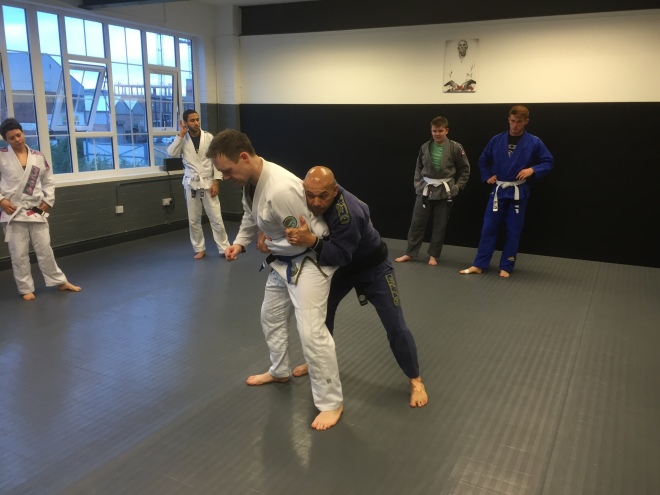
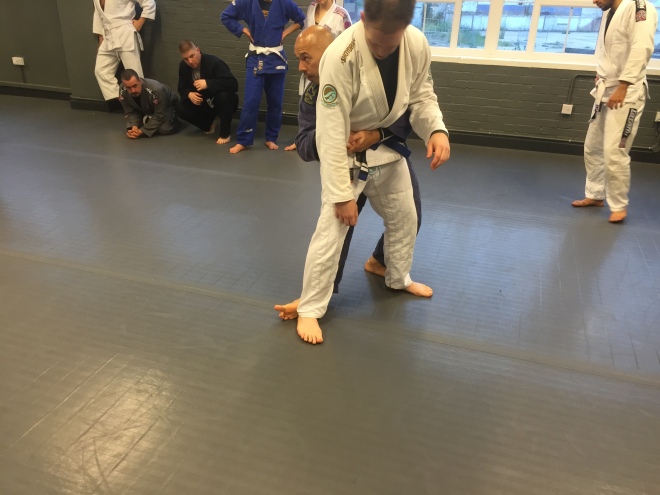
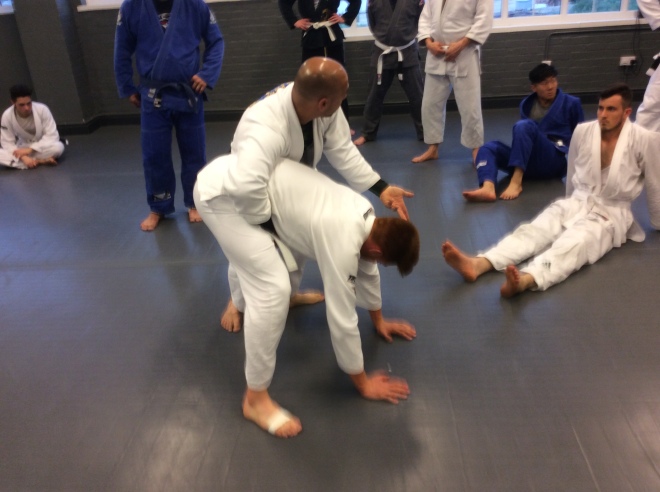
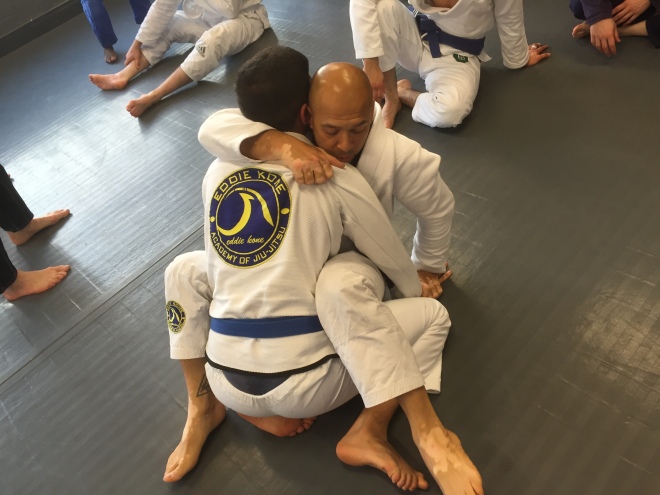
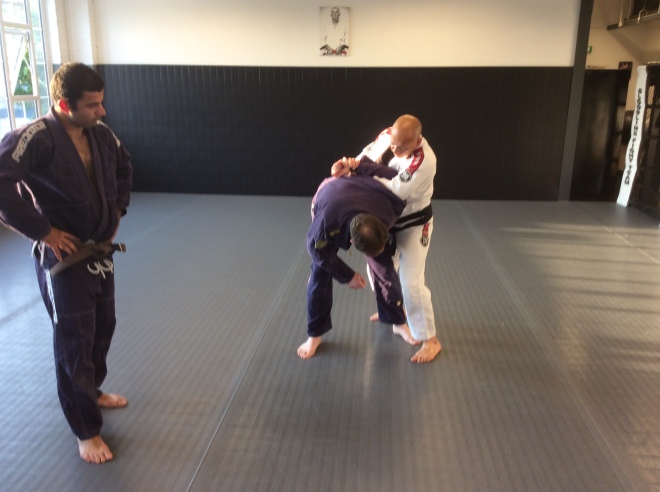
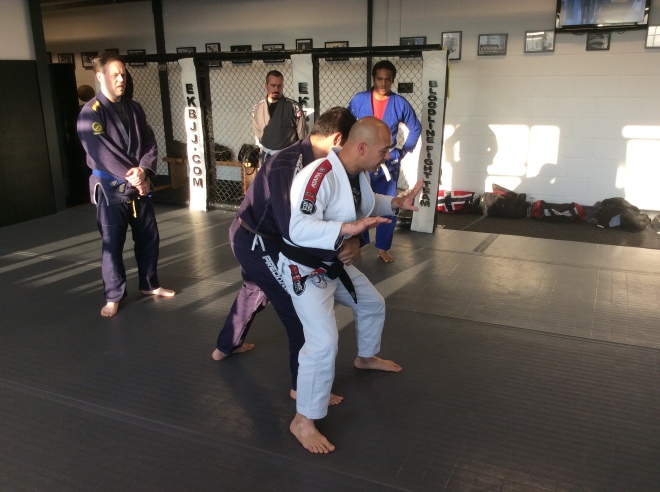
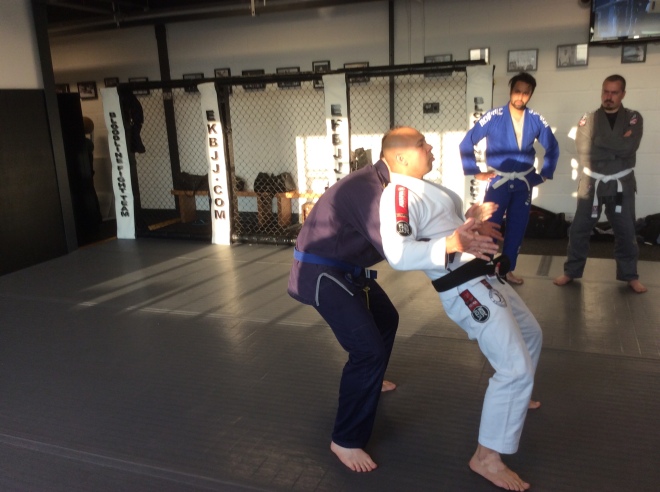
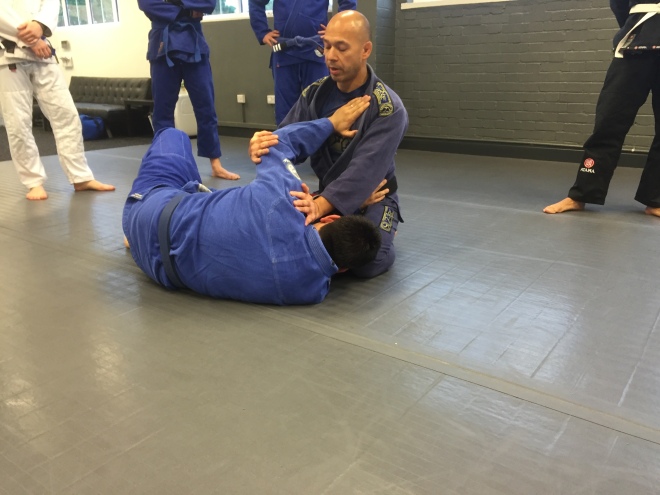
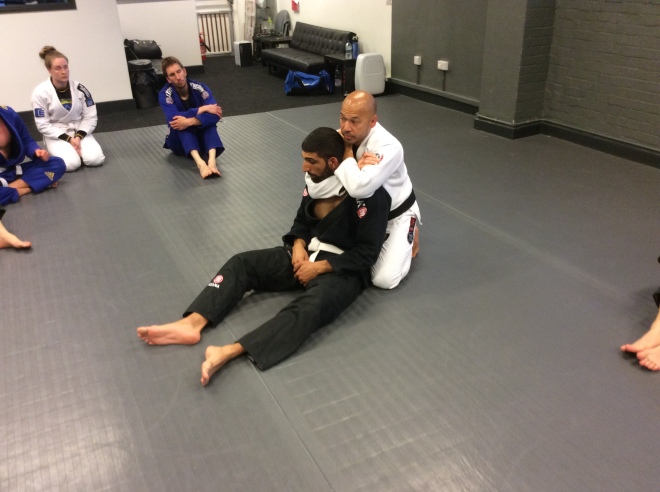
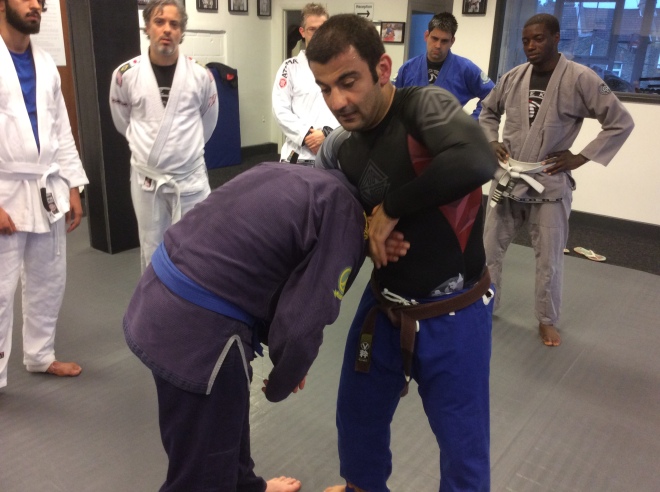
Also taught over the weekend were some self-defence positions from being caught in a Muay thai clinch, there were 3 variations, first one being one that puts you into the clinch, second puts you behind the opponent and the last one involves sweeping them on to their back.
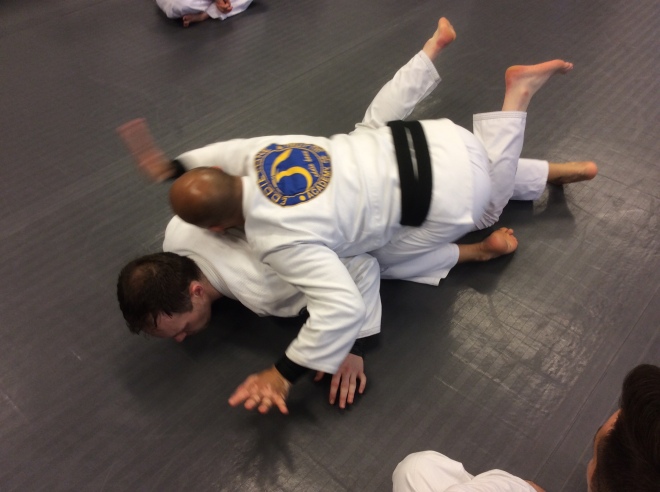
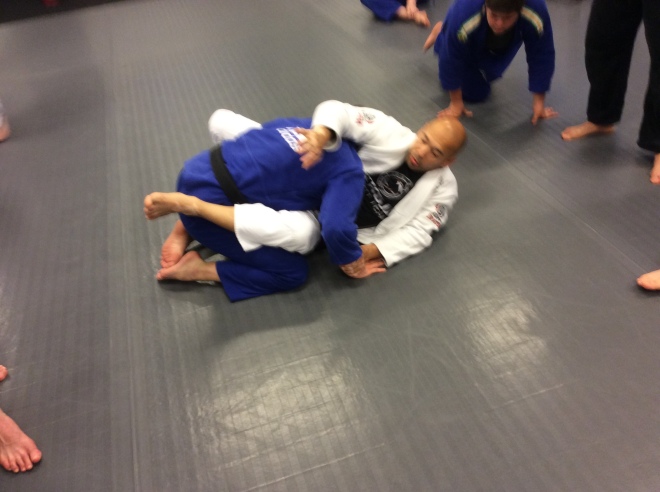
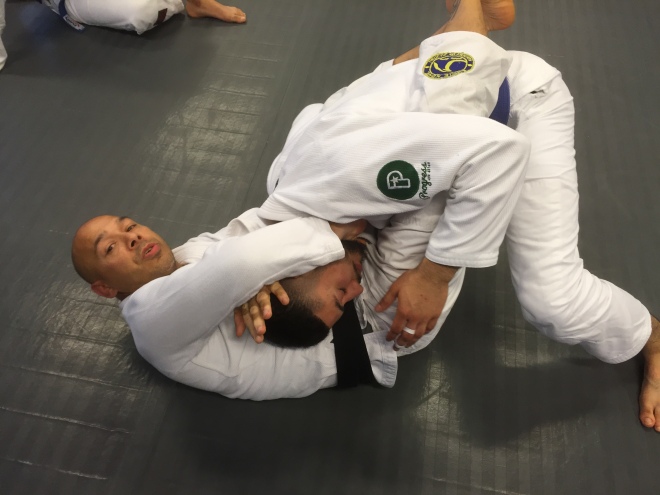
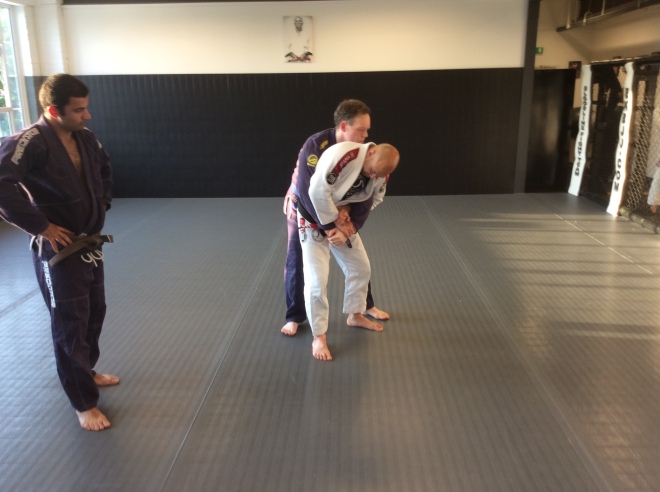
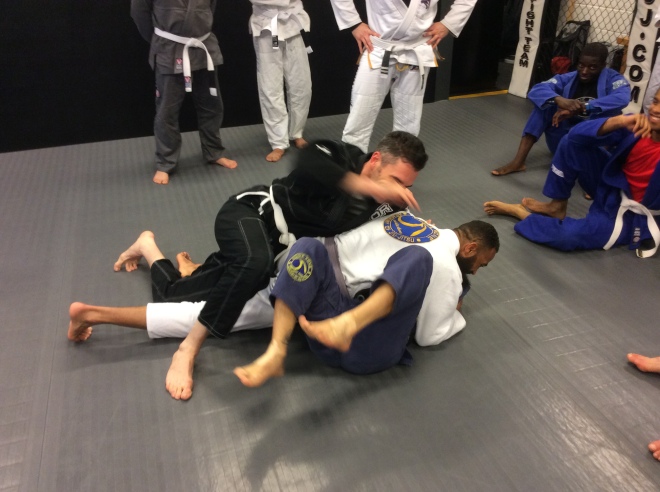
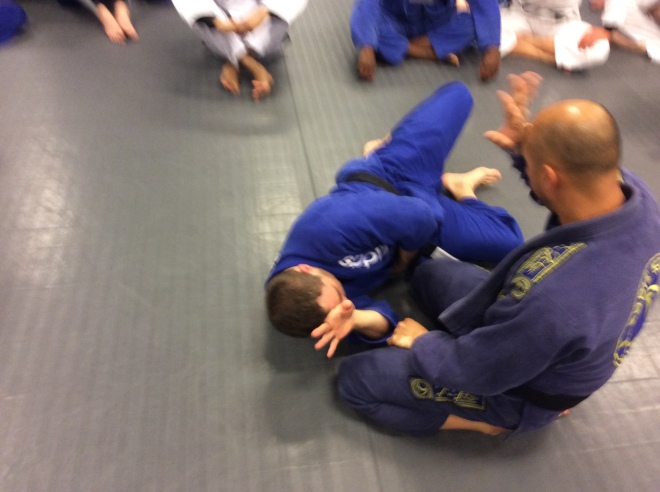
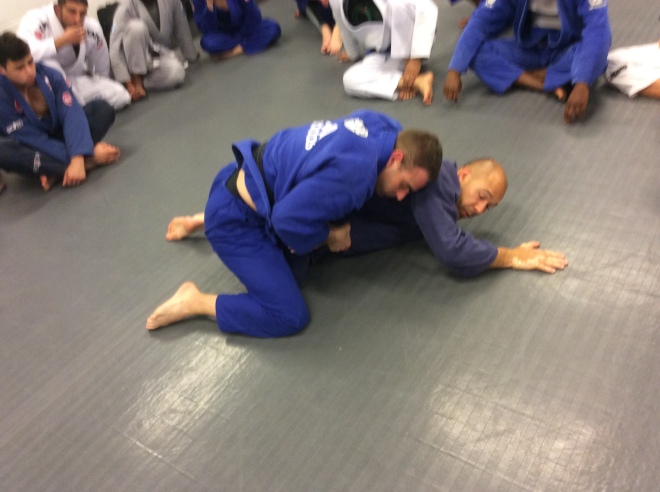
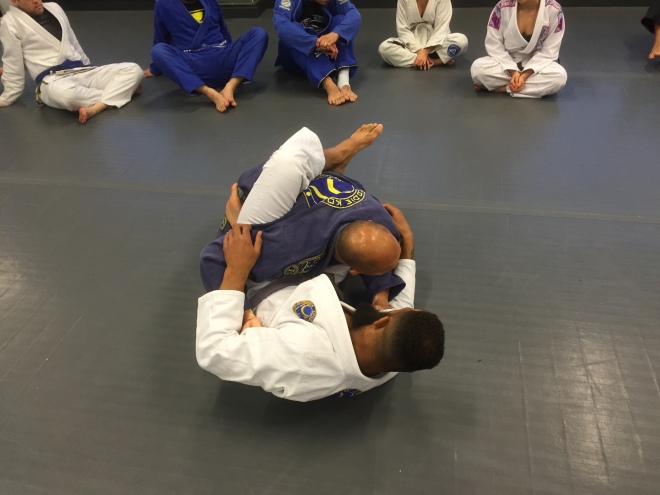
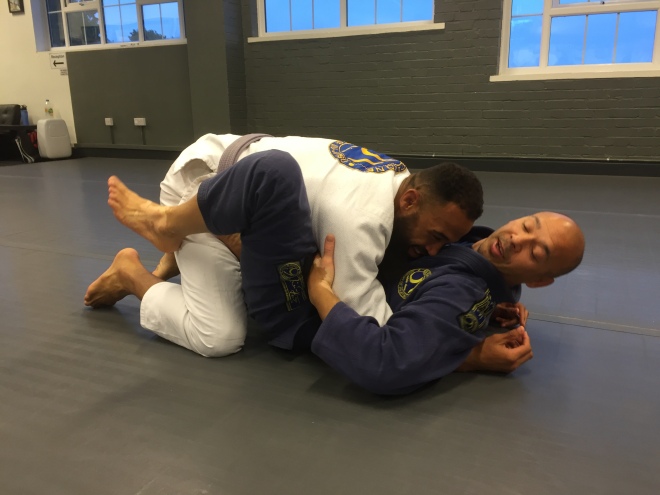
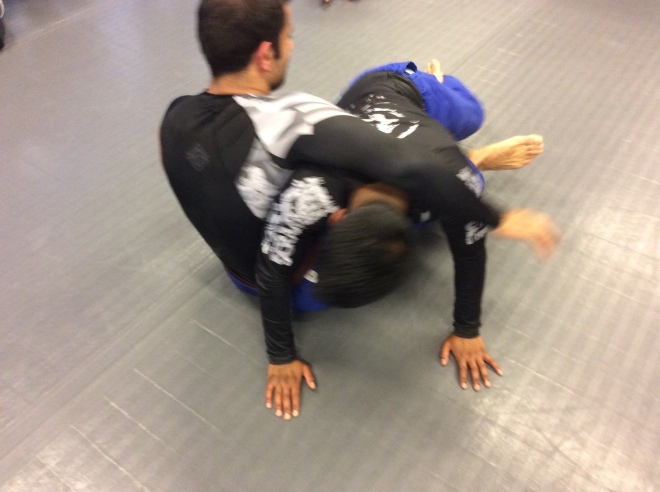
After practicing those, we then were taught some delicious gi chokes, in total roughly 5 variations, first one using your own gi, second variation uses their own gi. Variations 3 and 4 are linked to adjustments made by the opponent to negate the gi choke, but essentially you either end up underneath them performing the choke or you end up on your belly performing the choke. That last variation starts of being a gi choke, with their gi, attack but ends up being a modified Ezekiel choke!
It was a very technical weekend and some of the positions I saw again relied heavily on proper execution of the basics. As always taught, these are just a bunch of moves if you don’t have the appropriate mindset that belongs with it.
On that note i need to do some stretching!
Tapping out!

Easy does it now…

So, after giving my back much needed down time from the rigours of jiu-jitsu. I ventured back on to the mats to see where the class had progressed too in my absence.

The new class structure is still in place, with fundamentals for the first hour then moving into more intermediate/advanced techniques at the end. However, this week the focus has been on self defence positions when caught in a bear hug from the rear.

IMG_4080

Professor made it clear, as always, what we would be going through for the evening and also what we would be recapping from the previous lesson.

To start off we did a few guard passing drills involving manipulation of the gi collar and the gi pants, to offset your opponent to get into a side/cross body position.

We then moved into recapping the lesson from Monday involving the positions for doing a take down if you’re grabbed from behind. Professor was sure to remind us that this particular variant was only applicable to people of a similar size to yourself. If they happened to be a lot larger, for example a bouncer in a club, then a different technique would need to be used.

IMG_1967


Professor’s observations saw that the technique to throwing them wasn’t correct and reiterated in the areas we weren’t grasping. Maintaining good base, pushing the legs together and using legs and throwing them across our back and not behind us.

IMG_4105

We then, revisited a position involving a head lock attempt, good posture is performed and we end up in a situation where we are doing the basic defence, but mid way through the attacker moves their arm and we end up behind them.

IMG_4129

From here driving the attacker forwards, triggers a reaction from them to stop being pushed, it is at this moment we instigate a take down from behind to then move into modified mount over them.

IMG_4137

After practising this numerous times and with the added technical details being explained, Professor then asked if there were any options for the person being thrown. There was one, normally suited more to MMA fighters but nevertheless it could still happen in a street fight. The attack tries to negate the throw by leaving forwards.

IMG_1976

From here, Professor explained it’s advisable to move to the side and apply pressure from the hip into their side to keep the attackers hands on the floor. Once this is done, we can hook the nearest leg with an inside leg hook and pull the leg with the hooking leg and apply pressure diagonally towards the opposite shoulder to force the attacker to the ground.

IMG_1989

From here moving your way up towards the head maintaining pressure all the way. Another scenario given was if the person drops to their knees? Again it was a simple solution, maintain the connection with them and use your leg to hook the knee and again push them, via your hip, into the direction of their opposite shoulder.

IMG_1991

The last discussion point on this position, spoke more about if they were in a fully closed ‘turtle’ position. After throwing it out to the congregation on the evening, Professor put us out of our misery and simply explained that we can roll them over using leverage. This then descended us all into a lecture about various aspects of jui-jitsu. That concluded the lesson for the evening.

My thoughts..

It appears i may have missed a fair amount, but the concepts are already formulating in my mind as i continue my journey. Sparring sessions were a lot harder than normal due to my apparent dip in stamina. But it was also good to see people executing moves like a seasoned pro. Will look forward to sparring with them in the near future.

Tapping out…


Arghh! my back!

Title says it all, since my last postings on the wonders of Kimura arm-locks, i’ve managed to do the thing that most people do in training and that’s injure themselves, or in this case I’ve injured myself.

So what did i do?

During a simple warm up exercise i managed to hurt my lower back, not terribly serious, but when the following day comes and you can’t even put your shoes and socks on without screaming in pain? you know this won’t get easier any time soon. Luckily, or unluckily,  i’m not a stranger to injuries so i know that the first point of call isn’t your local GP, it’s a specialist that knows about lower back pain, i.e. an Osteopath. But before we get to that point, i was helped out by a member of the academy who also went through this themselves and helped me stretch my lower back out a bit, no it wasn’t pleasant!

Later that particular evening a very hot bath to try and relax the muscles in the area, which helped slightly. Gingerly getting into bed and the fighting for hours to find a reasonably comfortable position to sleep in. I don’t recommend lying flat on your front or on your back. The following day comes and disaster already struck! I’m on my back. I attempt to sit up and quickly lie back down again, my back in telling me things… don’t try to sit directly up! I manage to roll out of bed and come to my knees. It feels like my back doesn’t understand the concept of movement. So i grit the teeth and slowly come up straight, even though still slightly stooped.

Dressing myself was a challenge, i.e. putting on trousers, socks, etc. Getting to work was generally unpleasant. Sitting at a desk to operate a pc, yeah that didn’t go down well, considering every time i got up was recipe for disaster. A colleague gave me a contact number for a local Osteopath in the area, which he recommended very highly, so i dutifully made an appointment.

After answering all the normal questions, you do on a first visit, it was time to strip then get on the table. The hour flew by… crack, crack, crack, crack… crack some more. No training for the week, ice the back to reduce swelling, do not sleep on your front or back, sleep on your side with a pillow between the knees. Plus the Osteopath put these strips on my back, why? apparently it helps blood flow to the area.

Days past, movement is coming back, pain still there but I’m moving better. Decided to have another assessment done, as i really want to get back to training, went and saw the Osteopath, another series of cracks and checks. Confirmation, my back is a lot more  responsive and feels like there’s some give in places as before there wasn’t any. Warned me of going back to training and to take it easy, otherwise i can undo all the healing that’s been done. For good measure they cracked the sh1t! out of my neck too and my upper back. (I really do think that back cracking is like ‘popping your cherry’ for Osteopath’s)

But my range of movement is a lot better now and next to no pain. I will now look forward to going back to training, but no high impact stuff. Being injured isn’t cheap!

“Tapping out!”

I’m ready to tell you my secret now. I see Kimura arm-locks!

As we bring the Kimura arm-lock to a conclusion this week, Professor did mention of an epic UFC fight between Frank Mir and Antonio Rodrigo Nogueira where Mir broke Nog’s arm using a Kimura arm-lock.
mir1
Tonight the Professor will be completing the technique of the week but whilst reminding us of it’s application can be used in many, many different situations depending on what circumstance you’re in whilst in the fight.
After the warm-up, we did a recap of the previous lessons from the week, then after going through a brief drill, we steeled ourselves to take on more knowledge.
IMG_1653
Three more positions Professor had in store for us, one being an entry to getting the arm-lock whilst still on your back, generally via an opening given to you when your assailant attempts a punch. To fully take advantage will require applying  some knowledge from the ‘punch block’ lesson to bridge the arm over the shin, once this has been done we can kick our foot up, which in turn moves the assailant’s arm forward giving us an opportunity to set it up for a Kimura arm-lock.
IMG_1707
Another position which dove tails off a previous position we learnt where you end up on top, but the assailant grabs with both arms around your body whilst you have them in the mounted position. From here you arch your back, like a cat, to create space to place a frame between you and the assailant’s head. Whilst doing this, you move your knee up, can be either, and trap the other arm between your thigh and body. This will allow you to get the necessary rotation to apply the arm-lock.
IMG_1732
The last position was from the guard and this required a little more guile to pull off. It relies on action and reaction, a topic the Professor always comes back to when showing us different techniques, why? because he understands that in a real self-defence situation no one will offer up anything without resistance. Professor always makes us aware of this. So with the head position, by pushing it in one direction the most human reaction is to resist and fight, when doing so we use that momentum to push the head back to the other side.
IMG_1736
This places the assailant to one side and off balance within your guard, from here we can go for the Kimura arm-lock on the opposite side to the head.
IMG_1741
However if this isn’t doable, for example the assailant is being very stubborn, resistant or strong, there is always an option. We can effectively go in reverse and go towards the head side; this is doable via hip escapes in the direction of the head and bringing the leg up to keep the other arm exposed, from here we can attempt the arm-lock on the other side.
IMG_1756
For me this was definitely the trickiest of all the Kimura arm-lock positions and the Professor and his talented black belt made it look so easy!
We practiced all moves with varying levels of success and befuddlement, however Professor and Coach did an excellent job of breaking down the areas we found initial difficult. This concluded the lesson for the evening.
My thoughts, this is going to be a submission i’ll go for in future sparring sessions, I have my favourite which is the Americana arm-lock and as i see this as the same submission but in reverse, it makes sense to understand it’s applications. Not to say i’ll neglect the rest, particularly chokes, but I’m thinking already of how i can apply this.
“Tapping out”

Sore shoulders and a sore neck

Moving on steadily into this week’s lessons on the application of the Kimora arm-lock, Professor had designs on teaching us this move when you have your assailant within your guard and the options that are available to you.
We started of with a recap of the positions we learnt from the previous lesson and drilled those to reacquaint ourselves.
IMG_3627
Professor then explained the execution of the arm-lock when in the guard, again it does depend on what your assailant is doing in reaction to the position you have them in. Ideally, it’s best to apply the Kimura when the assailant has their hands on the floor. This gives the opportunity to place your hand on their wrist. The timing for doing this is when the assailant tries to sit up, at this point you allow them to pick you up as well.
IMG_3653
Once you’re in a seated position, reach over the shoulder and thread your arm between their body and arm to grab your own wrist.
Then it’s a shoulder and hip movement exercise to bring the assailant back to the floor with your legs crossed.
IMG_3660
At this point it’s a question of applying pressure until they submit or get their arm broken!
We practiced this a few times and took time out to understand any troubles we were having, my personal gripe was that I had the arm too far away from my own body, which made the execution a little loose. But after a few adjustments it improved.
Moving on, Professor put in a scenario if the person you’re trying to arm-lock is resisting, what are the options? again questions went out and as usual Professor put us out of our misery.
He explained that we can still wrap the intended arm with the one that is used to go through their arm and grab our own wrist. But instead of grabbing our own wrist it hooks on the back of the assailant’s arm. We then move the hand that was on their wrist and use it to support ourselves. Once stable, we can then do a hip bump forwards and roll them round so that they are on the ground and we obtain a cross body position over them whilst still having the arm partially locked up.
IMG_3671
We practiced this a few times inclusive of moving round the assailant’s head to execute the Kimura finish.
Professor then went on to show us a potential early escape for the arm-lock from this position, he explained by just moving our head forwards, we can make it difficult for them to move their arm around to get the initial grip on the Kimura.
IMG_3689
However, Professor also explained that there’s a potentially nasty counter that can be applied instead, which he named the ‘loop choke’.
IMG_3700
We practiced the escape and counter a few times. I struggled initially with the choke but then, with help from the Professor and other students on the evening, i was making fundamental mistakes, which I have now corrected.
This brought the lesson to a close.
My thoughts, some very nice details handed over this evening, which allows another attack to watch out for if I’m in someone’s guard or another attack to attempt if they’re in my guard. Only downside is that now people know another choke, which isn’t my strong point whilst defending.
“Tapping out”

Tools of the Gracie hunter…

This week Professor introduced us to another arm-lock, famous in history to it being successfully used against hi-profile Brazilian Jiu-jitsu practitioners that just happen to be part of the Gracie family.
Helio was caught with this, Renzo was caught with this and even Royler was caught with this. For those who know, this could only be the Kimura arm-lock. Professor explained that to begin we’ll look at applying this particular technique standing up first and then slowly work our way to the ground.
IMG_0790
Before going into the details of the Kimura, Professor showed us defences if an attacker grabs you from behind and the proper action to take.
IMG_0759
Lowering your height which affects your centre of gravity, whilst forcing your fingers inside the grabbers hands provides a decent point to push your arms down and also to expand your waist out to potentially break the grip. Professor did also advise us that while we are lowering our base, we can also execute a reverse head butt into the face of the attacker.
IMG_0768
After practising that a few times, Professor then taught us the position to be in to execute the beginnings of the Kimura.
IMG_0774
Leading off from the earlier drill, we needed to break the grip, double up on an arm and turn in the direction of the arm you have partially locked.
IMG_0785
From here we were shown two options, to bring them to the floor and place them in the guard but on the side.
A key detail with forcing this submission is that we need to stretch away from the body and then turn, this made the whole move and lot tighter and enabled the submission to go on very quickly.
IMG_0799
Or to be in a cross body position over them. Key details with this particular position required us to make sure that we prevent their arm going to their side, incase they are trying to reach for weapons. In addition, shuffling the arm up towards their shoulder sets up the finishing Kimura nicely in the next part.
IMG_0807
Stepping around the head, then dropping your hip or body weight on their shoulder begins to put vast amount of weight on to their shoulder and make the submission very tight. Then a very gentle twist of the arm that confirms the submission.
All was practiced very diligently, with questions and re-explainations happening in the class. This concluded the lesson on the evening.
My thoughts,  with my long arms I realised how susceptible i am to this particular arm-lock and in fact, all arm-locks in general. However, i did like this addition as I believe it compliments the Americana nicely.
“Tapping out”

The power of hips!

Moving on with the fine work Professor has taught us this week on defending the castle from the cross body positions, Professor picked up from where he left off in the week. Assisted by one of his talented Black belts, we started to explore deeper
into the cross body defence techniques.
After warming up we did a recap of the positions learnt from earlier in the week, which we all dutifully drilled to refresh memories. Professor then went into more detail about the mechanics of the position and the importance to occupy certain positions to defend.
IMG_0726
Professor then asked the question, what if it’s late, they get into the cross body/side control position, what then? A few suggestions were thrown out by the members of the class, a few interesting ideas but eventually the Professor put us out of our misery.
IMG_0715
The whole premise of the move is to use a hip bump, to create space to move our hips to allow the leg to come through to build  towards retaking the guard. Clever stuff! The technique was so impressive, Professor allowed not one by two large individuals to combine their weight on top of him to prove that the move had very little, if any, to do with strength.
Before
IMG_0706
After
IMG_0709
We drilled this for a while, until the Professor expanded on the position by again asking the question, what if the person on top is really strong? and is able to adjust to counter the hip bump? Well in a situation like that understanding connections and momentum is important. The Professor then demonstrated one such option by ‘going with’ the reaction from the person on top to allow you to flip them over you.
IMG_0719
Another clever move which relies on timing and balance, we gave this technique in a drilling sense, practice whilst also incorporating the other techniques taught on the evening.
The final technique for the evening, incorporated a default position to be in if the person in the top position gets all the way in.
IMG_0743
From here we needed to bring the top arm against the body, bridge wrap the arm around their back and move to take the back.
IMG_0750
This move was particularly nice, which nicely turned the tables and puts the defender in a good position with multiple options to mount an offensive counter attack.
My thoughts, having been attending EKBJJ for almost 10 months now, more of these positions are beginning to make more sense, plus am becoming more confident in trying submissions, Professor does always stress to keep practicing…
“Tapping out!”

From one master to another…

Post the Royler Seminar at the academy, things have been busy. The academy will be expanding and a new curriculum will be launched where the Professor will be having more sessions through out the week. Happy days!
Professor started of the week with details on ‘defending the castle’ from someone’s cross body advances.
IMG_3508
Details here worked mainly on our position and the different stages where we can make life more difficult for them to connect with you.
Arms being placed on the chest and hip, making sure you’re completely on your side. The bottom leg is made heavy with your other leg supporting your position.
IMG_3511
In most cases ,the objective of the person advancing is to try and get your shoulders flat on the floor. With a simple adjustment with the supporting leg, you can keep yourself on your side and them at bay.
IMG_0663
Moving on from this position involves bringing your bottom leg as a shield between the advancing person and yourself, placing it across their waist with your foot anchored right on the hip.
IMG_3538
Normally in this situation, the advancing person will want to remove the shield and continue to obtain side control. To help them do this, removing the anchor on their hip will be a priority. To prevent them from doing this there are a few things that can be done.
i) Stopping them by undercooking the arm to be used to go after the foot.
ii) If they managed to get their hand near the foot you can block it with your own leg, that was on their back.
iii) If they get to your foot and begin to deal with it you can bring your other leg down to break the grip then use your arm to undertook their arm to bring it back to safety.
IMG_3541
This concluded the lesson on this particular evening.
My thoughts, still buzzing from the seminar the details for this week nicely complement some of the positions taught by Master Royler, it’s still remarkable to me how similar in teaching style that my Professor has to the Master! in many respects it’s like Master Royler is still here in my Professor.
“Tapping out!”

Learning from the Master

Today was a day to cherish as I came face to face with Master Royler Gracie within the walls of the EKBJJ Academy for Jiu-Jitsu.
First impressions, i noted he was almost the same size and build as my Professor and incredibly easy going. The seminar itself was excellent and I felt that some crucial pieces of information was passed down to those present.


Both the Master and Professor have very similar teaching styles, which goes along way to show the level of dedication and belief in the system from both individuals, more so my Professor.
We went over some standing self-defence techniques and also looked at different positions involving guillotine chokes and arm triangle defences. Prior to the demonstration and teaching of the techniques, he gave a brief history lesson on the origins of Jiu-Jitsu and also shared some of the experiences he had whilst growing up and being the ‘Son of Helio Gracie’. All very informative and at times amusing.
He also gave a ‘questions and answers’ session which allowed us to ask him anything with reference to the art of Jiu-Jitsu, some excellent questions were asked and from one of the questions, Master Royler demonstrated a clever guard pass and also some techniques for breaking open someone’s guard.
Master Royler, is patient, very passionate and informative about several areas of Jiu-jitsu, he gave us all great pieces of advice about our learning and expectations. Progressing up through the belts is a big commitment but a worthwhile commitment as the benefits are so overwhelming.
“Tapping out”

Seeing double?

It’s been roughly two weeks since my last update from the mats of EKBJJ, many things have been going on which has reduced my ability to be prompt with my learning updates in the art of Gracie Jiu-jitsu. However, i still made some notes along the way.
We have been looking at more head lock escapes, which enabled us to move into positions to potentially take the back and execute a rear naked choke.
IMG_3329
Details here were partly recap of previously taught lessons and details of improving your positioning on someones back as to not fall off when they try to get you off.
IMG_3333
Professor also went over the details of executing a rear naked choke, a criticism the Professor picked up on when observing the class.
IMG_0623
Professor concluded that week with other variations on escaping the head lock and ending the sequence of moves with an armlock submission.
IMG_3355
The following week’s lessons were around guillotine chokes, I unfortunately missed the opening lesson at the start of the week, but was able to get a good consolidation lesson in via the Professor’s talented Brown belts.
IMG_0626
During that lesson, we did a good amount of work on standing and exploring different entry points of guillotine chokes mixed in with some strike defence. One particular detail we looked at which was very, very nice was being in the seated rear naked choke position and guiding their escape towards being guillotined!
IMG_0652
My thoughts, even though i engaged in reduced lessons over the last two weeks, the details were excellent which now adds to my ever increasing knowledge of Jiu-Jitsu. With the seminar looming, I hunger for more details about Jiu-jitsu!
“Tapping out”